Instructor
CDL Study Buddy Team
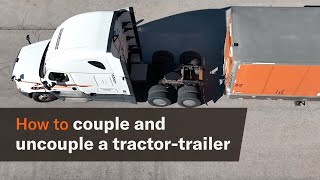
This step-by-step coupling tutorial is designed for CDL students who are learning the coupling sequence for the first time or need a detailed refresher. Every action is demonstrated up close with clear explanations of what to do and what to watch for.
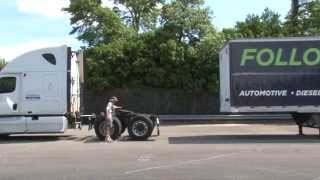
Step one: preparation and positioning. Before backing under a trailer, you must do a walk-around check. The instructor demonstrates checking that the trailer brakes are set, the landing gear is down and secure, there are no obstacles behind or around the trailer, and the trailer is at approximately the right height. You will also check your fifth wheel — ensure the jaws are open, the plate is tilted back, and the surface is properly lubricated.
Step two: alignment and approach. Backing to the trailer requires precise alignment. The instructor shows how to line up the tractor squarely with the trailer, centering the fifth wheel on the kingpin. You will learn to use your mirrors to maintain alignment and to stop when the fifth wheel gently contacts the trailer apron.
Step three: height verification. This is a critical safety check that cannot be skipped. The instructor demonstrates how to verify the trailer height by exiting the cab and checking visually. The fifth wheel should make contact with the apron plate approximately halfway up, so the kingpin will slide up the back of the fifth wheel. If the trailer is too high, raise the landing gear; if too low, lower the landing gear. The video shows what correct and incorrect heights look like.
Step four: backing to lock. Resume backing slowly while watching in your mirrors. The kingpin will slide up the fifth wheel ramp until it contacts the locking jaws. The instructor shows what to watch for — the release arm should snap into the locked position, and you may also see the trailer move slightly as the kingpin seats. Back gently until the fifth wheel is fully against the trailer apron.
Step five: lock verification. Exit the cab and perform a visual lock check. The instructor demonstrates looking into the gap in the fifth wheel to see the locking jaws fully closed around the kingpin. You verify the release arm is in the locked position and cannot be moved by hand. This visual check is required by CDL examiners.
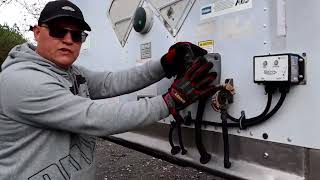
Step six: connect air and electrical lines. The instructor demonstrates connecting the glad hands — blue (service) to blue, red (emergency) to red — pressing firmly until they click and lock. The electrical cable is connected next, with the plug twisted to lock. Lines are hung properly on the catwalk to prevent dragging.
Step seven: supply air and release trailer brakes. Start the engine and allow air pressure to build. Push in the red (trailer air supply) valve to charge the trailer air system. Listen for air leaks. Once system pressure is normal, push in the yellow (tractor parking brake) valve.
Step eight: tug test and landing gear. Perform a gentle tug forward to confirm the connection is secure. Then raise the landing gear completely, using the crank in low gear initially and high gear once the weight is off. Secure the crank handle. Remove wheel chocks if used.
For FMCSA coupling safety standards, visit https://www.fmcsa.dot.gov/. Pair this tutorial with our CDL practice tests and hands-on practice.