Instructor
CDL Study Buddy Team
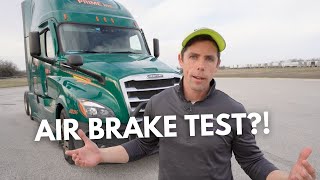
The three-step air brake test is often where CDL candidates lose points due to confusion about proper sequence and acceptable values. This video breaks down each step with detailed demonstrations and clear explanations that make mastering this test straightforward.
Step one — checking air pressure build-up — is demonstrated with precise timing. The instructor shows you how to start the engine, set the fast idle, and time the pressure increase from 50 to 90 PSI. You will learn that the system must build pressure within three minutes at governed RPM, and what to do if your vehicle fails this test. The video also explains why pressure build-up rate is critical for safe vehicle operation, as it determines how quickly you can release the spring brakes and resume driving after a stop.
Step two — checking the governor cut-out — is explained with attention to the subtleties that examiners watch for. The instructor demonstrates how to identify when the compressor cuts out by listening for the change in engine sound and watching for the air dryer purge. You will learn the normal cut-out range of 120-130 PSI and how to fan the brakes down to verify the compressor cuts back in at around 100-110 PSI. Multiple repetitions are shown so you understand the cyclical nature of this test.
Step three — the static air loss test — receives the most detailed coverage because it is the most technically demanding. The instructor demonstrates performing the test with the engine off, brakes released, watching both primary and secondary air gauges for exactly one minute. The maximum leak rate of 2 PSI per minute (single vehicle) or 3 PSI per minute (combination vehicle) is explained, along with the implications of exceeding these limits. The brake-applied portion of the test is then demonstrated, showing how to hold full service brake pressure and measure the leak rate.
The video also covers the low air pressure warning check, showing the exact pressure at which the visual warning and audible buzzer must activate (typically by 60 PSI). The tractor protection valve test and emergency spring brake activation test are demonstrated with explanations of what each valve does and why each test matters for safety.
To tie everything together, the instructor performs the complete three-step test at full speed — the way you would present it to an examiner on test day. Use this video as a study guide and reference the FMCSA air brake regulations at https://www.fmcsa.dot.gov/ for authoritative information.